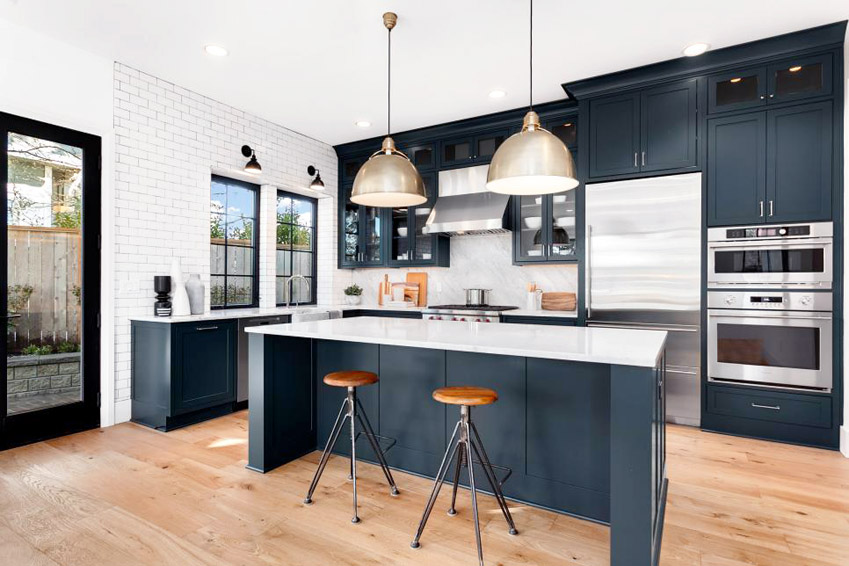
DIY Kitchen Cabinets: How to Build Your Own Custom Cabinets
Wiki Article

Building your own kitchen cabinets can be an exciting and cost-effective way to revamp your kitchen while adding a personal touch. It allows you to customize every detail, from materials to design, and gives you complete control over the project. While making cabinets from scratch can be time-consuming, with careful planning and basic woodworking skills, it’s a highly rewarding project. Here’s a guide to help you tackle your DIY Kitchen Cabinets project.
1. Planning Your Kitchen Layout
The first step to building DIY kitchen cabinets is planning. Start by measuring your kitchen space carefully and determining where your cabinets will be placed. Think about the number of cabinets you need, their size, and their configuration. Use graph paper to sketch out the layout or utilize online design tools to visualize the space. Consider factors like countertop height, depth of the cabinets, and the placement of appliances.
Decide on the type of cabinets you want — base cabinets, wall-mounted cabinets, or both — and think about the style you prefer. Popular options include traditional shaker-style cabinets, modern slab doors, or more intricate designs with moldings and trim.
2. Choosing Materials
For the cabinet frames (or “boxes”), plywood is a popular choice due to its durability and strength. Hardwood plywood offers an attractive finish, while MDF (medium-density fiberboard) is an option if you plan to paint your cabinets. For the cabinet doors, you can also use hardwood or MDF, depending on the finish you’re after. In addition to the main materials, you’ll need screws, wood glue, hinges, drawer slides, and cabinet pulls or handles. If you plan to add shelves, you’ll need additional materials like shelf pins.
3. Cutting and Assembling the Cabinet Boxes
Start by cutting the pieces for the cabinet boxes based on your layout plan. You will need panels for the sides, bottom, and back, as well as shelves or dividers if your design includes them. Once you have the pieces cut, assemble them using wood glue and screws. Ensure the corners are square, and use clamps to hold everything in place as the glue dries.
To ensure strength and stability, reinforce the edges with wood cleats or pocket screws. At this stage, you can also cut and attach toe kicks to the base of your DIY kitchen cabinets to create space for your feet when standing at the counter.
4. Creating and Finishing the Cabinet Doors
The cabinet doors are often the most visible part of the cabinetry, so you’ll want to put extra care into this step. Depending on your chosen style, you can create simple flat-panel doors, shaker-style doors with a recessed center, or more intricate designs. Cut your door pieces to size, and assemble them with glue and dowels or pocket screws.
Once assembled, sand the doors smoothly and prepare them for finishing. Apply primer, followed by your choice of paint or wood stain. For a sleek, modern look, choose a glossy paint finish, while a natural wood stain gives a classic, rustic feel.
5. Installing the Cabinets
Once your cabinets are assembled, finished, and dried, it’s time for installation. Start by mounting the upper cabinets before the base cabinets. Use a stud finder to locate the wall studs and attach the cabinets securely with screws. Ensure each cabinet is level and securely fastened.
For the base cabinets, start by positioning the corner cabinets first, then add the others in sequence. Adjust the cabinets so that they’re level, and attach them to the wall and to each other.
6. Adding Hardware and Final Touches
After the cabinets are installed, the final step is to attach hardware like door handles, knobs, or drawer pulls. This step adds both functionality and style to your cabinets. You can also install soft-close hinges and drawer slides for a more luxurious feel.
Lastly, add any trim pieces or molding to complete the look of your DIY kitchen cabinets and create a polished, professional appearance.
Conclusion
Building your own kitchen cabinets can be an ambitious but highly rewarding DIY project. By customizing your layout, choosing the right materials, and putting in careful work, you can create a beautiful, functional kitchen space. Not only will you save money compared to purchasing pre-made cabinets, but you’ll also enjoy the satisfaction of crafting a key part of your home with your own hands.